Are you looking to elevate your video shooting skills with your DSLR camera? Finding the perfect settings can make all the difference in the quality of your footage. From adjusting aperture and shutter speed to tweaking white balance and ISO, understanding how to optimize these settings can help you capture stunning videos. In this article, we will explore the best settings for shooting video on a DSLR, providing you with the knowledge and confidence to produce professional-looking videos. What Are The Best Settings For Shooting Video On A DSLR?
Have you ever wondered what the best settings are for shooting video on a DSLR camera? Setting up the right configurations can make a significant difference in the quality of your footage. In this article, we will explore the key settings you need to consider to get the best results when shooting video with your DSLR. Let’s dive in!
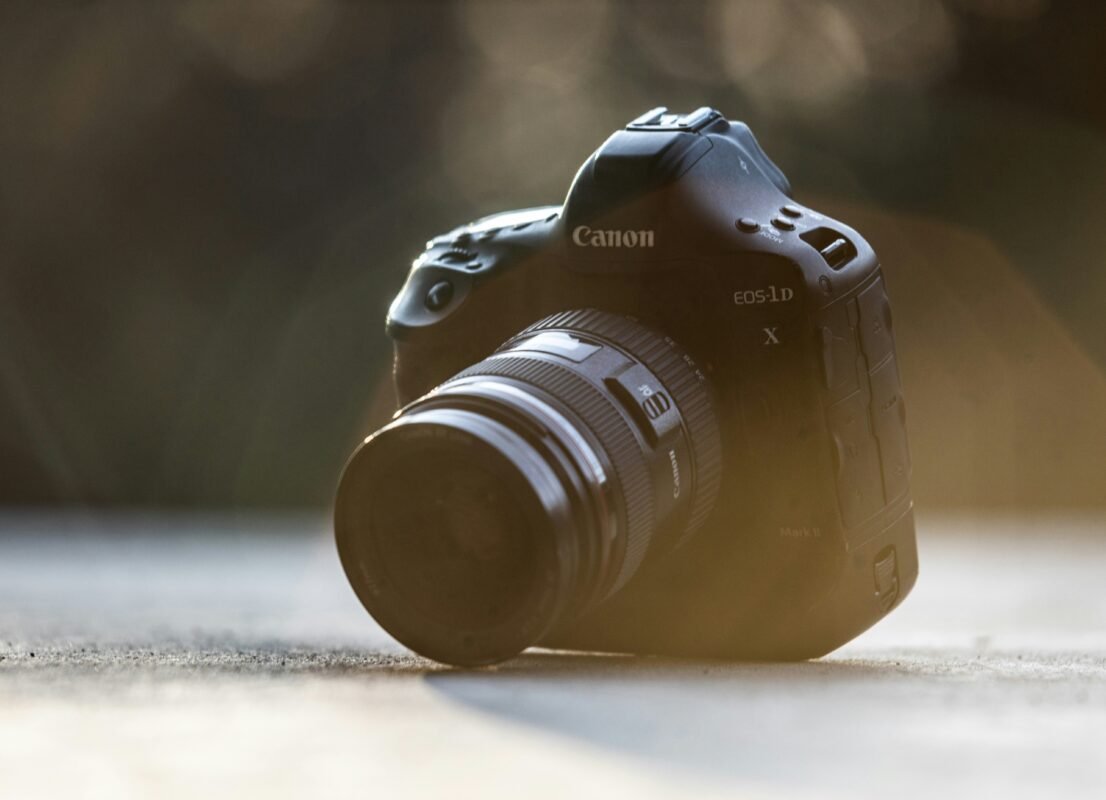
This image is property of images.unsplash.com.
Frame Rate and Resolution
When it comes to shooting video on a DSLR, frame rate and resolution are two crucial settings that you need to pay attention to. The frame rate determines how many frames per second (fps) are captured in the video, while resolution refers to the number of pixels displayed on the screen.
Frame Rate
The frame rate you choose will greatly affect the overall look and feel of your video. The most common frame rates used in video production are 24fps, 30fps, and 60fps.
- 24fps: This frame rate is widely used in cinema and provides a more cinematic look to your videos. It is ideal for capturing scenes with a more dramatic feel.
- 30fps: This frame rate is commonly used in television broadcasting and provides a more natural look to your videos. It is suitable for capturing everyday scenes.
- 60fps: This frame rate is ideal for capturing fast-paced action such as sports or slow-motion footage. It offers smooth motion and is great for high-quality, detailed footage.
Resolution
The resolution of your video determines the overall sharpness and clarity of the footage. The most common resolutions used in video production are HD (High Definition) and 4K.
- HD (1920×1080): This resolution is commonly used for online videos, television broadcasts, and personal projects. It offers sharp details and is well-suited for most video productions.
- 4K (3840×2160): This resolution provides four times the pixels of HD, resulting in incredibly sharp and detailed footage. It is ideal for professional projects, cinematic productions, and future-proofing your content.
Best Settings Recommendation
For most video projects, a frame rate of 24fps and a resolution of 4K would be the ideal combination for achieving high-quality, cinematic-looking footage with plenty of detail.
Shutter Speed and Aperture
In addition to frame rate and resolution, shutter speed and aperture are two other vital settings that you need to consider when shooting video on a DSLR camera.
Shutter Speed
Shutter speed determines how long the camera’s sensor is exposed to light when capturing a video frame. It plays a significant role in controlling motion blur and exposure levels in your footage.
- Generally, the rule of thumb for setting the shutter speed in video is to double the frame rate. For example, if you are shooting at 24fps, the ideal shutter speed would be 1/50 or 1/48 (the closest available option).
- A slower shutter speed will result in more motion blur, which is useful for creating a smooth and cinematic look.
- A faster shutter speed will freeze motion and reduce motion blur, which is ideal for capturing fast-paced action and sports scenes.
Aperture
Aperture controls the amount of light that enters the camera lens and affects the depth of field in your footage. It is measured in f-stops, with smaller f-stop numbers (e.g., f/2.8) letting in more light and creating a shallower depth of field.
- A wider aperture (small f-stop number) is ideal for creating a cinematic look with a blurred background, perfect for portrait shots or creating a sense of intimacy in your videos.
- A narrower aperture (larger f-stop number) is better for achieving sharp focus throughout your scene, ideal for landscape shots or videos where everything needs to be in focus.
Best Settings Recommendation
For most video projects, a shutter speed of 1/50 or 1/48 (depending on the available options) and an aperture of f/2.8 would be a good starting point for achieving well-exposed footage with a cinematic look.
ISO and White Balance
ISO and white balance are two essential settings that can greatly impact the overall quality and color accuracy of your video footage. Let’s dive into how to adjust these settings for optimal results.
ISO
ISO determines the camera’s sensitivity to light, with higher ISO settings allowing you to shoot in low light conditions but potentially introducing noise or grain to your footage.
- A lower ISO setting (e.g., ISO 100) is ideal when shooting in bright lighting conditions to maintain image quality and reduce noise.
- A higher ISO setting (e.g., ISO 800 or higher) is necessary when shooting in low light conditions to increase sensitivity and capture more light, although it may introduce some noise to the footage.
White Balance
White balance is crucial for ensuring that the colors in your footage appear natural and accurate. It helps to adjust the color temperature of the camera to match the lighting conditions of your scene.
- Different lighting conditions, such as daylight, tungsten, fluorescent, or cloudy, require different white balance settings to maintain accurate colors.
- Setting the white balance manually or using presets such as daylight, tungsten, or cloudy can help improve the color accuracy of your footage.
Best Settings Recommendation
For most video projects, setting the ISO to the lowest value possible while maintaining proper exposure and adjusting the white balance based on the lighting conditions of your scene will help achieve accurate and natural-looking colors in your videos.
Autofocus and Manual Focus
When shooting video on a DSLR camera, you have the option to use autofocus or manual focus to control the focus points in your footage. Each method has its advantages and disadvantages, depending on the shooting conditions and your desired results.
Autofocus
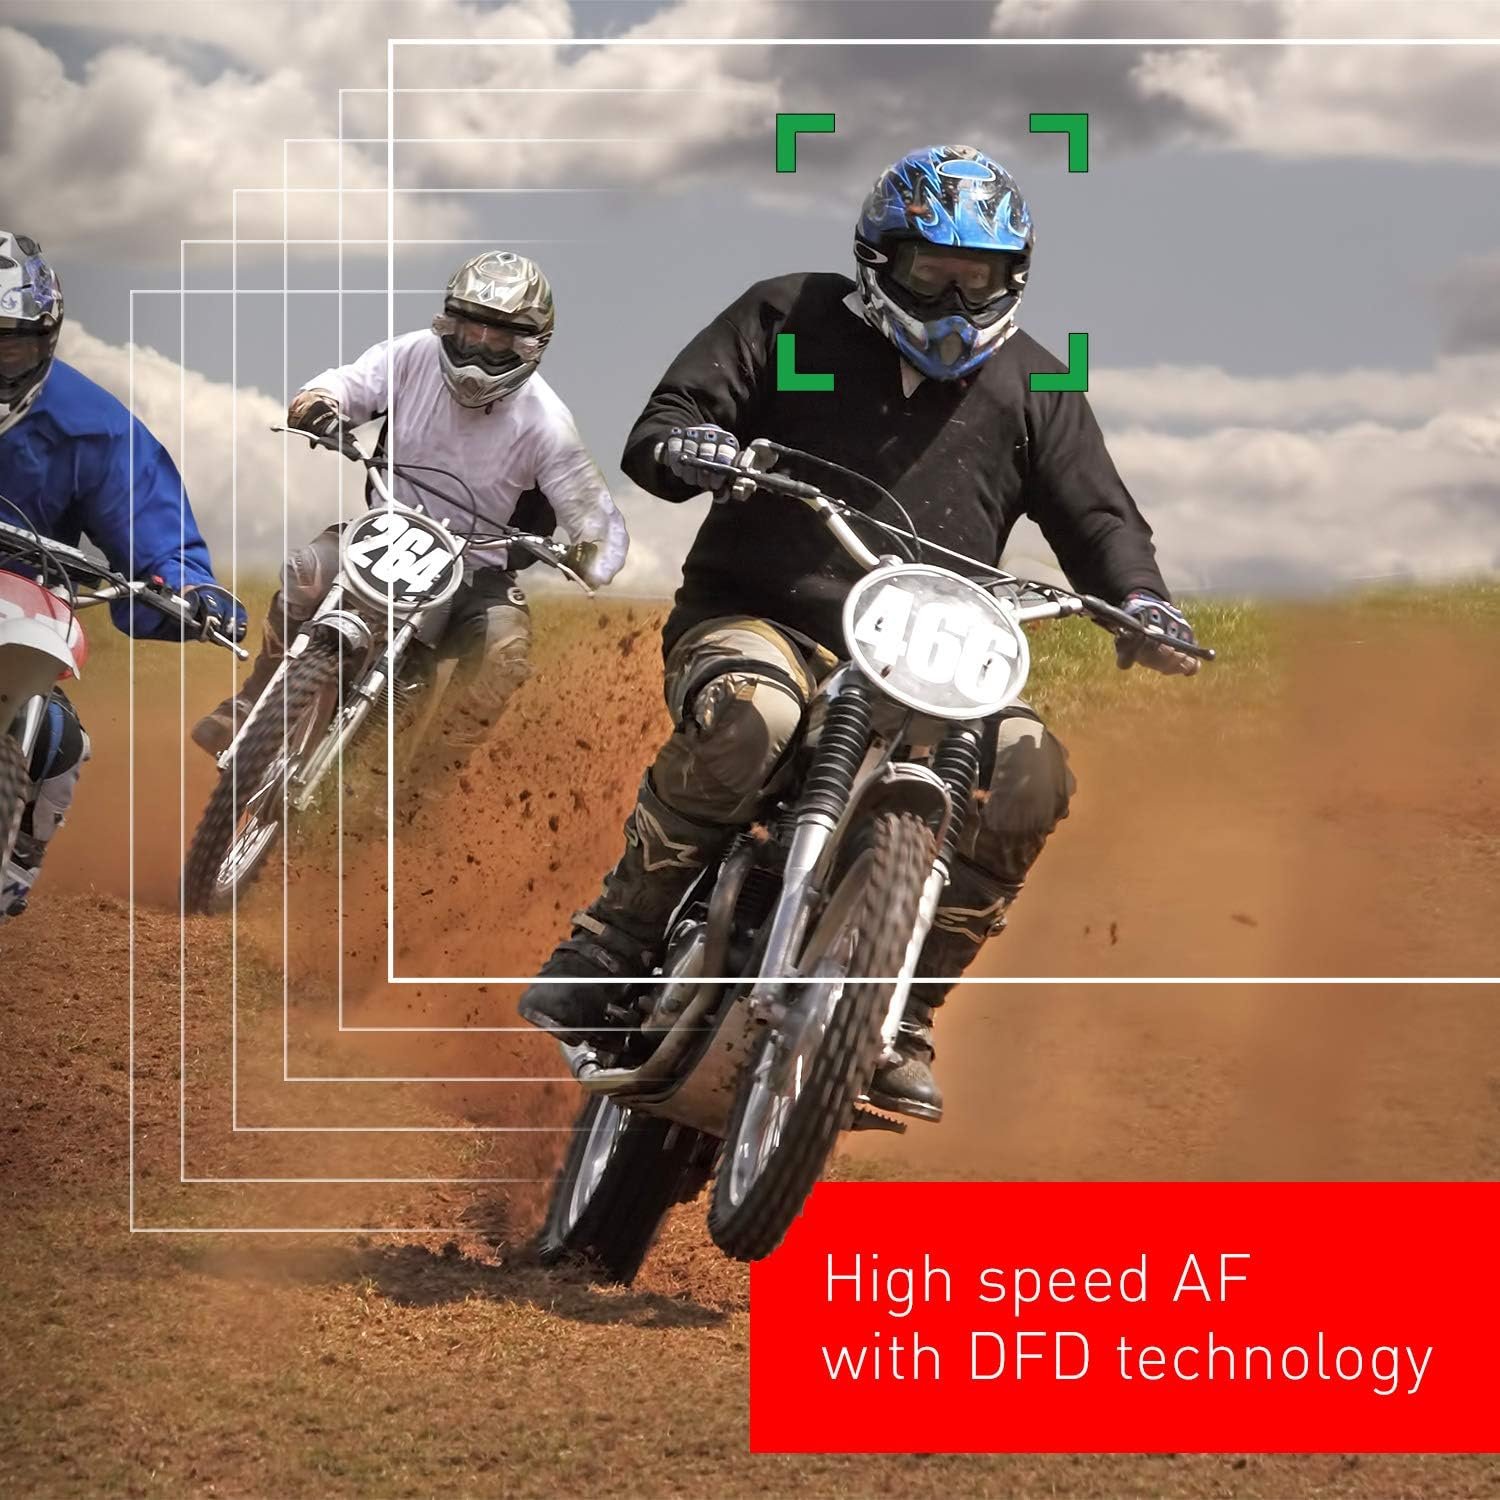
Autofocus automatically adjusts the focus points based on the camera’s algorithms, ensuring that your subject remains sharp and clear throughout the video.
- Continuous autofocus (AF-C or AI Servo) is useful for tracking moving subjects and maintaining focus as they move within the frame.
- Single autofocus (AF-S or One Shot) is ideal for locking focus on a stationary subject, ensuring that it remains sharp throughout the video.
Manual Focus
Manual focus allows you to control the focus points manually, adjusting the focus ring on the lens to ensure that your subject remains sharp and clear.
- Manual focus gives you full control over the focus points, allowing you to achieve precise focus on specific areas of your scene.
- It is useful for situations where autofocus may struggle, such as low contrast scenes or when shooting macro footage.
Best Settings Recommendation
For most video projects, using continuous autofocus (AF-C) for tracking moving subjects and switching to manual focus for precise control over focus points in static scenes would be the optimal approach for achieving sharp and clear footage.
This image is property of images.unsplash.com.
Audio Settings
Audio is an often-overlooked aspect of video production, but it plays a crucial role in enhancing the overall viewing experience. Properly setting up your audio settings on a DSLR camera can make a significant difference in the quality of your video footage.
Built-in Microphone vs. External Microphone
Many DSLR cameras come equipped with a built-in microphone, but for professional-quality audio, using an external microphone is highly recommended.
- A built-in microphone may pick up unwanted background noise, surface vibrations, or sound from the camera itself, resulting in poor audio quality.
- An external microphone, such as a shotgun mic, lavalier mic, or handheld mic, provides better sound isolation, clarity, and control over the audio levels.
Audio Levels and Monitoring
Adjusting the audio levels on your DSLR camera ensures that the sound is neither too soft nor too loud, achieving a balanced and clear audio output.
- Use headphones to monitor the audio levels while recording to ensure that the sound is clear, free of distortion, and recorded at the optimal levels.
- Adjust the audio levels manually to prevent clipping, ensure a high signal-to-noise ratio, and capture high-quality audio for your videos.
Best Settings Recommendation
For most video projects, using an external microphone for better audio quality, monitoring the audio levels with headphones, and adjusting the levels manually to achieve clear and balanced sound would be the ideal approach for enhancing the overall quality of your video footage.
Conclusion
Shooting video on a DSLR camera can be both challenging and rewarding, but with the right settings, you can capture high-quality, cinematic-looking footage that will impress your audience. By adjusting the frame rate, resolution, shutter speed, aperture, ISO, white balance, focus settings, and audio configuration, you can achieve professional results that elevate your video projects to the next level. Experiment with different settings, practice regularly, and don’t be afraid to try new techniques to enhance your video production skills. Happy shooting!
This image is property of images.unsplash.com.

